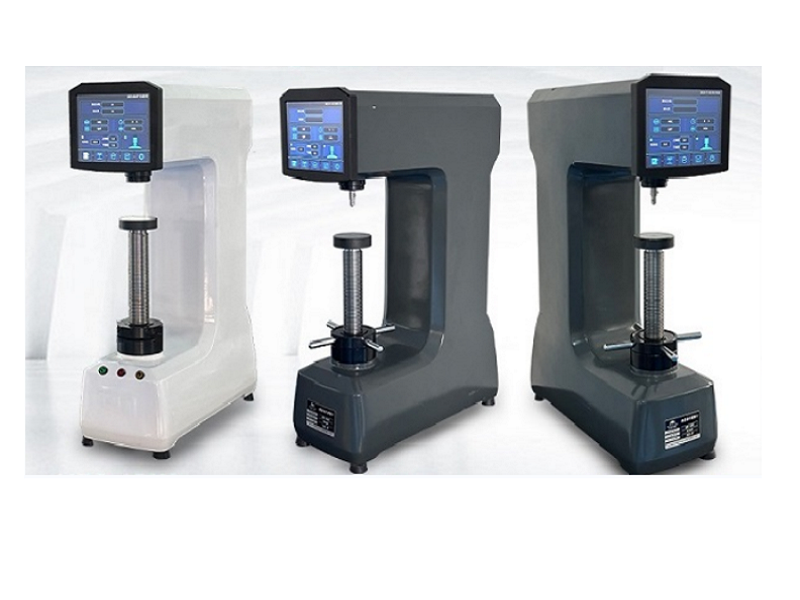
1) Can Rockwell hardness tester be used to test the hardness of steel pipe wall ?
The test material is SA-213M T22 steel pipe with an outer diameter of 16mm and a wall thickness of 1.65mm. The test results of Rockwell hardness tester are as follows : After removing the oxide and decarburized layer on the specimen surface with a grinder, the specimen was placed on a V-shaped work table and the Rockwell hardness test was performed directly on its outer surface , using the HRS-150S digital display Rockwell hardness tester at the load :980.7N.
After the test, it can be seen that the steel pipe on the wall has a slight deformation, and the result is : the low value measured of Rockwell hardness makes the test invalid.
According to GB/T 230.1-2018 « Rockwell Hardness test for metallic materials Part 1: Test methods », the Rockwell hardness is 80HRBW and the minimum thickness of the specimen is 1.5mm. The thickness of sample No.1 is 1.65mm, the thickness of the decarburized layer is 0.15~0.20mm, and the thickness of the sample after removing the decarburized layer is 1.4~1.45mm, which is close to the minimum thickness of the sample specified in GB/T 230.1-2018.
During the test, due to the sample center is not supported, it will cause subtle (possibly invisible to the naked eye) deformation, so the Rockwell hardness measured value is rather low.
2) How to select the superficial Rockwell hardness tester for testing steel pipes:
Our company has repeatedly tested the hardness of the steel pipe surface and reached the following conclusions:
Superficial Rockwell hardness test or Rockwell hardness test on the surface of a thin-walled steel pipe. Insufficient wall support will cause specimen deformation and result in low test results;
If put the cylindrical support in the middle of the thin-wall steel tube, because it can not ensure that the indenter axis and load loading direction and the surface of the steel pipe perpendicular to the surface, and the outer surface of the steel pipe and there will cause a gap of the cylindrical support of the gap between the circular surface of the steel pipe and the cylindrical support surface, will also cause the test result is rather low
Convert Vickers hardness testing to Rockwell hardness testing after polishing the steel pipe sampling inset, will get a rather accurate Rockwell hardness value.
2. After removing the oxide and decarburization layer on the surface of the steel pipe and machining the test plane on the outer surface and inlaying it, Value is more accurate compared Superficial Rockwell hardness tester with Rockwell hardness tester.
Post time: May-28-2024


