In industrial products, gear steel is widely used in power transmission systems of various mechanical equipment due to its high strength, wear resistance and fatigue resistance. Its quality directly affects the quality and life of the equipment. Therefore, the quality control of gear steel is very important. When selecting, its strength, toughness and wear resistance should be considered. Before processing gear steel, we need to analyze the metallographic structure, hardness, chemical composition, etc. of the material. The metallographic structure and hardness of gear steel are key indicators for evaluating its mechanical properties, heat treatment effects and service life. The metallographic analysis and hardness test of gear steel must strictly follow the standard process, and formulate a test plan based on material characteristics and working conditions:
First, metallographic analysis. The metallographic structure of gear steel has a great influence on its performance, such as the depth of the carburized layer, grain size, carbide distribution, etc. It is necessary to determine the analysis steps, such as sampling, sample preparation, corrosion, and then observe the structure. It may also be necessary to mention common tissue types, such as martensite, bainite, pearlite, and how to evaluate whether these tissues meet the standards.
Then comes the hardness test. The hardness of gear steel is directly related to wear resistance and strength. Common hardness test methods include Rockwell hardness, Brinell hardness, Vickers hardness, and possibly surface Rockwell hardness for carburized layers. It is necessary to explain the applicable scenarios of different test methods, such as Vickers or surface Rockwell for carburized layers, and Brinell or Rockwell for overall hardness. At the same time, the test standards, such as ASTM or GB, and the precautions during the test, such as the selection of test points, surface treatment, etc., should be mentioned.
Before analysis, we first need to cut and sample the gear steel. Below we use the precision metallographic sample cutting machine as an example to demonstrate the sample cutting process.
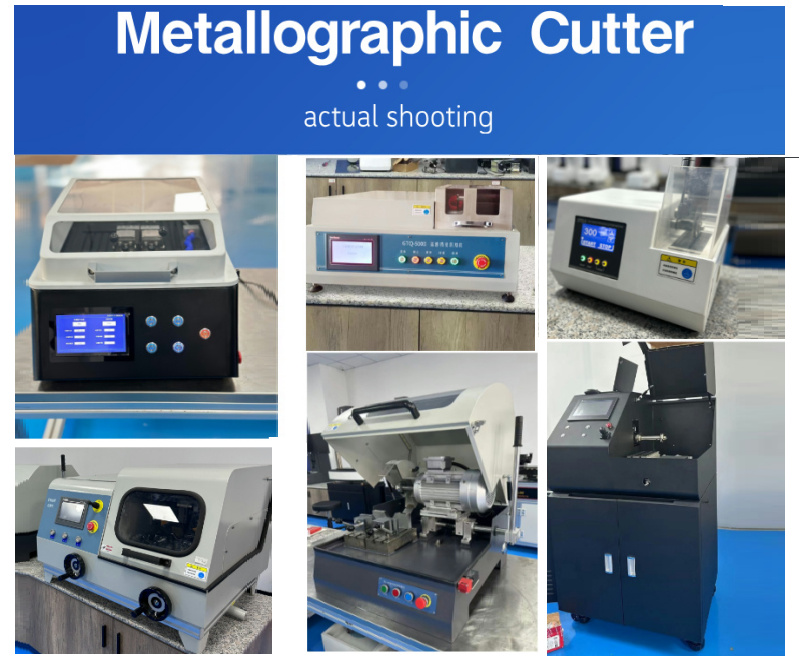
1. Take out the workpiece and clamp it with a quick clamp.
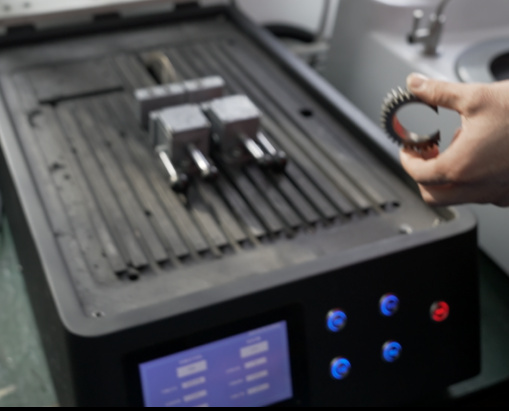
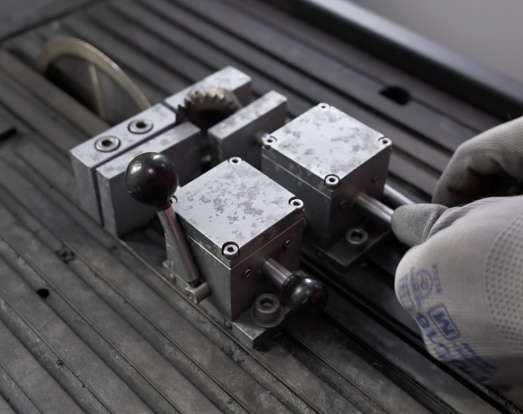
2. After clamping the workpiece, put on the protective cover.
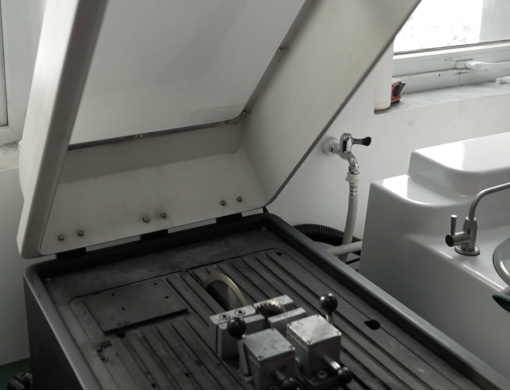
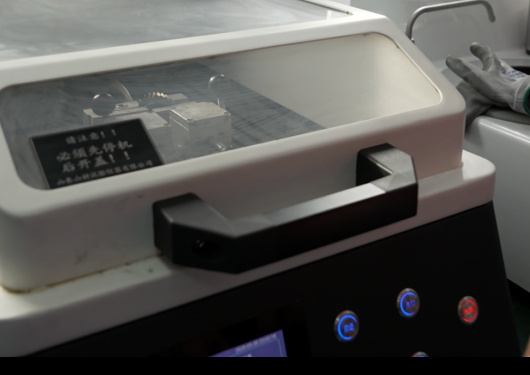
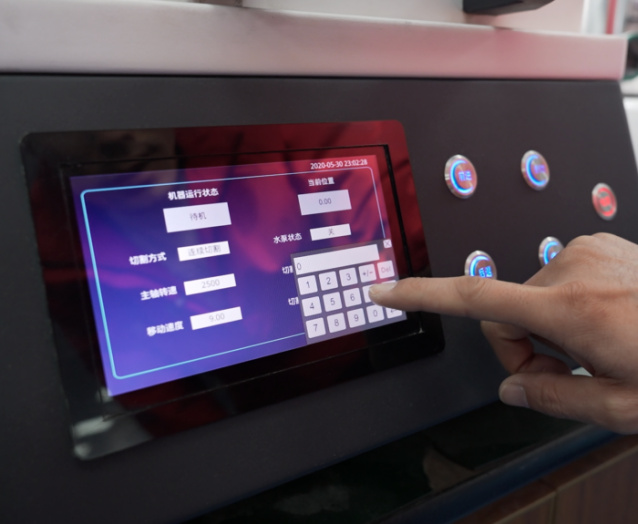
3. Set the cutting parameters on the screen and start the cutting program
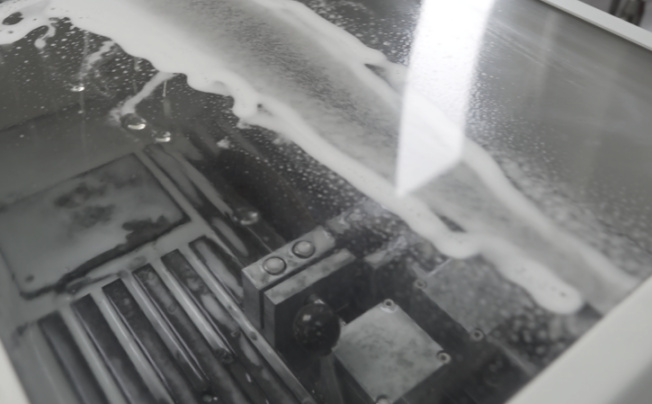
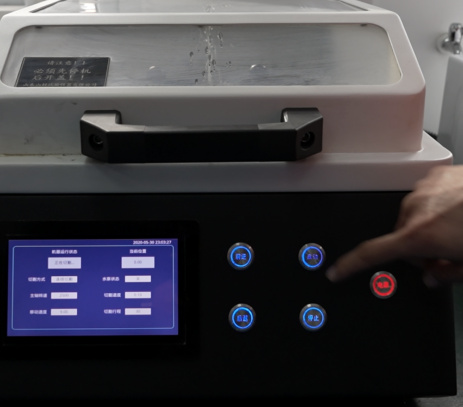
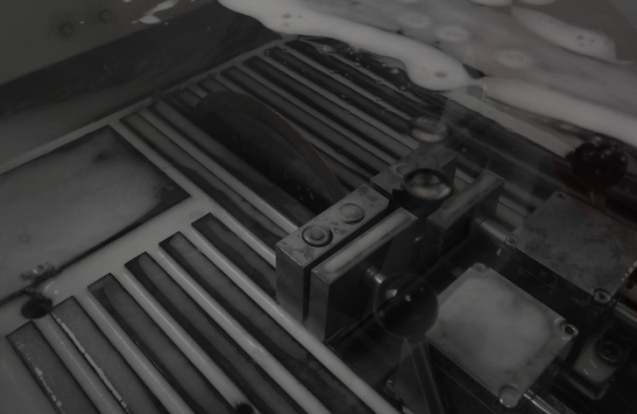
4. Open the upper cover and take out the cut sample to complete the sample cutting process.
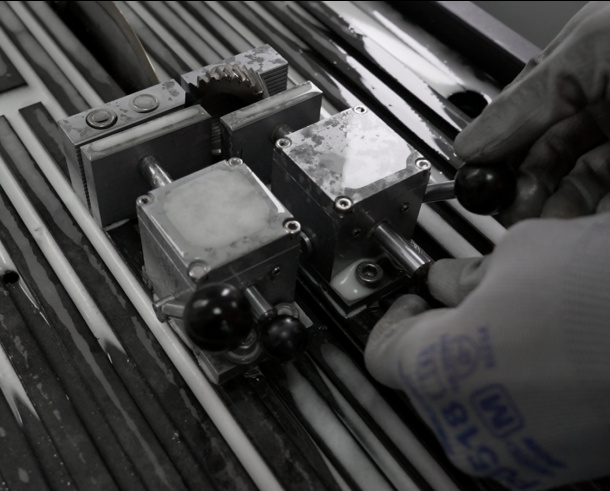

The cut samples can be used for subsequent sample preparation processes such as mounting, grinding, and polishing, after which the gear hardness test or metallographic analysis can be carried out.
Post time: Apr-02-2025


