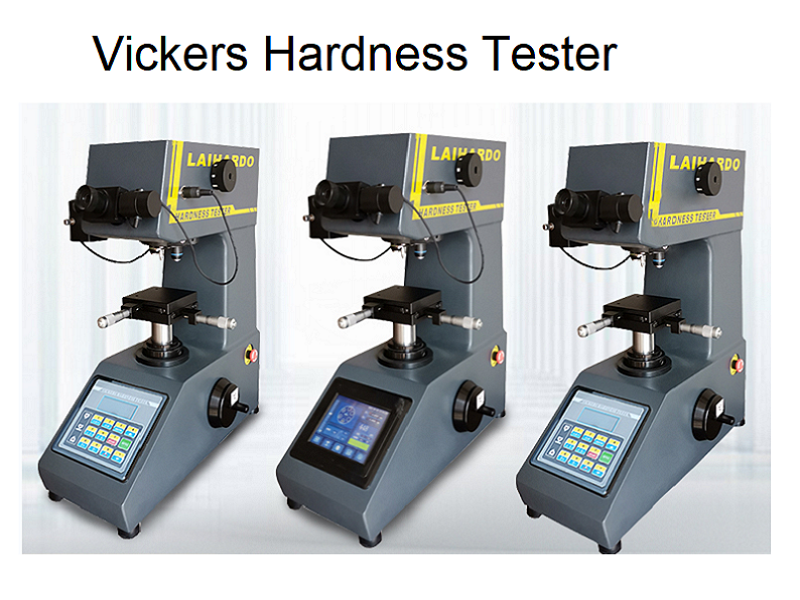
Because of the Vickers hardness and microhardness test, the diamond angle of the indenter used for measurement is the same. How should customers choose the Vickers hardness tester? Today, I will briefly describe the difference between the Vickers hardness tester and the microhardness tester.
Test force size division Vickers hardness and microhardness tester scale
Vickers hardness tester: test force F ≥ 49.03N or ≥ HV5
Small load Vickers hardness: test force 1.961N ≤ F < 49.03N or HV0.2 ~ < HV5
Microhardness tester: test force 0.09807N ≤ F < 1.96N or HV0.01 ~ HV0.2
So how should we choose the appropriate test force?
We should follow the principle that the larger the indentation, the more accurate the measurement value if the workpiece conditions allow, and choose as needed, because the smaller the indentation, the greater the error in measuring the diagonal length, which will lead to an increase in the error of the hardness value.
The test force of the microhardness tester is generally equipped with: 0.098N (10gf), 0.245N (25gf), 0.49N (50gf), 0.98N (100gf), 1.96N (200gf), 2.94 (300gf), 4.90N (500gf), 9.80N (1000gf) (19.6N (2.0Kgf) optional)
The magnification is generally equipped with: 100 times (observation), 400 times (measurement)
The test force level of the Vickers hardness tester can be divided into: 2.94N (0.3Kgf), 4.9N (0.5Kgf), 9.8N (1.0Kgf), 19.6N (2.0Kgf), 29.4N (3.0Kgf), 49.0N (5.0Kgf), 98.0N (10Kgf), 196N (20Kgf), 294N (30Kgf), 490N (50Kgf) (different models have different test force configurations.)
The magnification configuration is generally: 100 times, 200 times
The Vickers hardness tester of Shandong Shancai/Laizhou Laihua Testing Instrument can perform hardness tests on welded parts or welding areas.
According to the measured hardness value, the quality of the weld and metallurgical changes can be judged. For example, too high hardness may be due to excessive heat input during welding, while too low hardness may indicate insufficient welding or material quality problems.
The configured Vickers measurement system will run a fully automatic test program and display and record the corresponding results.
For the results of the measurement test, the corresponding graphic report can be automatically generated.
It is important to note that when selecting a representative area of the weld as the test point, make sure that this area has no pores, cracks or other defects that may affect the test results.
If you have any questions about weld inspection, feel free to contact us
Post time: Jun-07-2024


