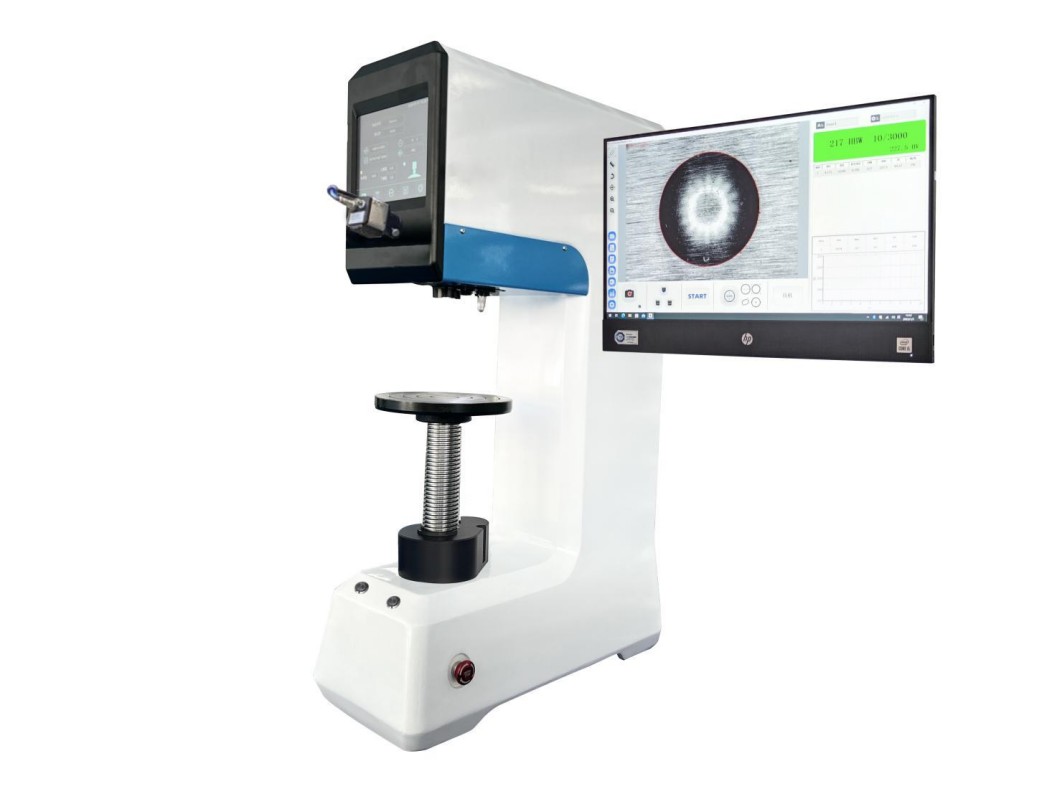
The Brinell hardness test was developed by Swedish engineer Johan August Brinell in 1900 and was first used to measure the hardness of steel.
(1)HB10/3000
①Test method and principle: A steel ball with a diameter of 10 mm is pressed into the material surface under a load of 3000 kg, and the indentation diameter is measured to calculate the hardness value.
②Applicable material types: Suitable for harder metal materials such as cast iron, hard steel, heavy alloys, etc.
③Common application scenarios: Material testing of heavy machinery and equipment. Hardness testing of large castings and forgings. Quality control in engineering and manufacturing.
④Features and advantages: Large load: Suitable for thicker and harder materials, can withstand greater pressure, and ensure accurate measurement results. Durability: The steel ball indenter has high durability and is suitable for long-term and repeated use. Wide range of applications: Able to test a variety of harder metal materials.
⑤Notes or limitations: Sample size: A larger sample is required to ensure that the indentation is large enough and accurate, and the surface of the sample must be flat and clean. Surface requirements: The surface needs to be smooth and free of impurities to ensure the accuracy of the measurement. Equipment maintenance: The equipment needs to be calibrated and maintained regularly to ensure the accuracy and repeatability of the test.
(2)HB5/750
①Test method and principle: Use a steel ball with a diameter of 5 mm to press into the material surface under a load of 750 kg, and measure the indentation diameter to calculate the hardness value.
②Applicable material types: Applicable to metal materials with medium hardness, such as copper alloys, aluminum alloys, and medium hardness steel. ③ Common application scenarios: Quality control of medium hardness metal materials. Material research and development and laboratory testing. Testing of material hardness during manufacturing and processing. ④ Features and advantages: Medium load: Applicable to materials with medium hardness and can accurately measure their hardness. Flexible application: Applicable to a variety of medium hardness materials with strong adaptability. High repeatability: Provides stable and consistent measurement results.
⑥Notes or limitations: Sample preparation: The sample surface needs to be flat and clean to ensure the accuracy of the measurement results. Material limitations: For very soft or very hard materials, other suitable hardness test methods may need to be selected. Equipment maintenance: The equipment needs to be calibrated and maintained regularly to ensure the accuracy and reliability of the measurement.
(3)HB2.5/187.5
①Test method and principle: Use a steel ball with a diameter of 2.5 mm to press into the material surface under a load of 187.5 kg, and measure the indentation diameter to calculate the hardness value.
②Applicable material types: Applicable to softer metal materials and some soft alloys, such as aluminum, lead alloy, and soft steel.
③Common application scenarios: Quality control of soft metal materials. Material testing in the electronics and electrical industries. Hardness testing of soft materials during manufacturing and processing.
④Features and advantages: Low load: Applicable to softer materials to avoid excessive indentation. High repeatability: Provides stable and consistent measurement results. Wide range of applications: Able to test a variety of softer metal materials.
⑤ Notes or limitations: Sample preparation: The sample surface needs to be flat and clean to ensure the accuracy of the measurement results. Material limitations: For very hard materials, it may be necessary to select other suitable hardness test methods. Equipment maintenance: Equipment needs to be calibrated and maintained regularly to ensure measurement accuracy and reliability.
Post time: Nov-20-2024


