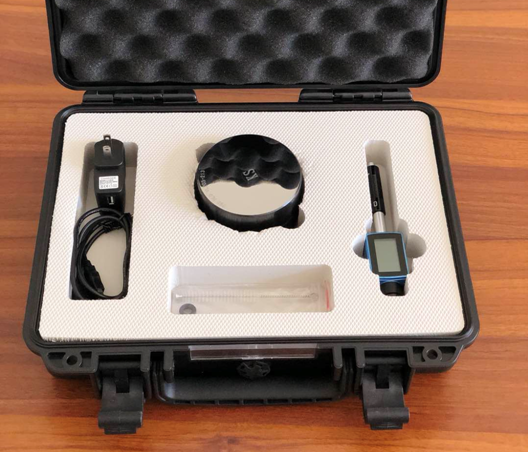
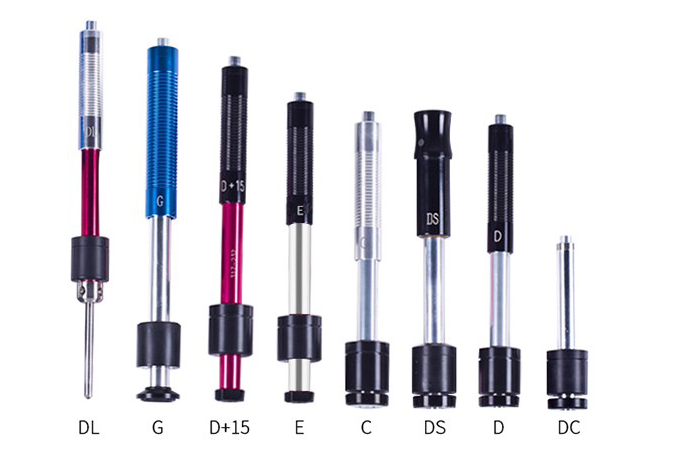
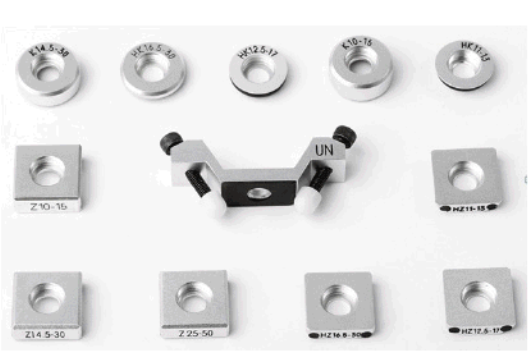
HL150 Pen-type Portable Leeb Hardness Tester
Die cavity of molds
Bearings and other parts
Failure analysis of pressure vessel, steam generator and other equipment
Heavy work piece
The installed machinery and permanently assembled parts.
Testing surface of a small hollow space
Requirements of formal original record for test results
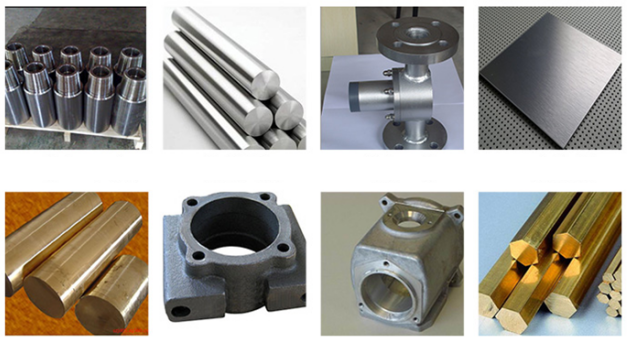
Material identification in the warehouse of metallic materials
Rapid testing in large range and multi-measuring areas for large-scale work piece
The energy quotient is quoted in the hardness unit HL and is calculated from comparing the impact and rebound velocities of the impact body. It rebounds faster from harder samples than from softer ones, resulting in a greater energy quotient which is defined as 1000×Vr/ Vi.
HL=1000×Vr/ Vi
Where:
HL— Leeb hardness value
Vr — Rebound velocity of the impact body
Vi — Impact velocity of the impact body
Working temperature:- 10℃~+50℃;
Storage temperature:-30℃~+60℃
Relative humidity: ≤90%;
The surrounding environment should avoid of vibration, strong magnetic field, corrosive medium and heavy dust.
|
Measuring range |
(170~960)HLD |
|
Impact direction |
lvertically downward, oblique, horizontal, oblique, vertical upward, automatically identify |
|
Error |
Impact device D:±6HLD |
|
Repeatability |
Impact device D:±6HLD |
|
Material |
Steel and cast steel,Cold work tool steel,Stainless steel,Grey cast iron,Nodular cast iron,Cast alum |
|
Hardness Scale |
HL、HB、HRB、HRC、HRA、HV、HS |
|
Min depth for harden layer |
D≥0.8mm;C≥0.2mm |
|
Display |
High-contrast Segment LCD |
|
Storage |
up to 100 groups(Relative to average times 32~1) |
|
Calibration |
SIngle point calibration |
|
Data printing |
Connect PC to print |
|
Working voltage |
3.7V(Built-in lithium polymer battery) |
|
Power supply |
5V/500mA;recharge for 2.5~3.5 h |
|
Standby period |
About 200h(without backlight) |
|
Communication interface |
USB1.1 |
|
Working language |
Chinese |
|
Shell meterial |
ABS engineering plastic |
|
Dimensions |
148mm×33mm×28 mm |
|
Total weight |
4.0KG |
|
PC software |
Yes |
1 Start-Up
Press the power key to start up the instrument. The instrument then comes into working mode.
2 Loading
Pushing the loading-tube downwards until contact is felt. Then allow it to slowly return to the starting position or using other method locking the impact body.
3 Localization
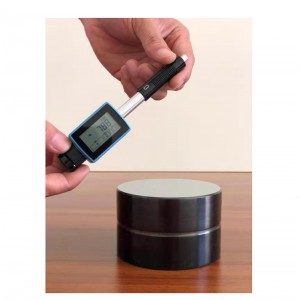
Press the impact device supporting ring firmly on the surface of the sample, the impact direction should be vertical to the testing surface.
4 Testing
-Press the release button on the upside of the impact device to test. The sample and the impact device as well as the
operator are all required to be stable now. The action direction should pass the axis of the impact device.
-Each measure area of the sample usually need 3 to 5 times of testing operation. The result data dispersion should not
more than mean value±15HL.
-The distance between any two impact points or from the center of any impact point to the edge of testing sample
should conform to the regulation of Table 4-1.
-If want accurate conversion from the Leeb hardness value to other hardness value, contrastive test is needed to get
conversion relations for the special material. Use inspection qualified Leeb hardness tester and corresponding
hardness tester to test at the same sample respectively. For each hardness value, each measure homogeneously 5
points of Leeb hardness value in the surrounding of more than three indentations which need conversion hardness,
using Leeb hardness arithmetic average value and corresponding hardness average value as correlative value
respectively, make individual hardness contrastive curve. Contrastive curve at least should include three groups of
correlative data.
|
Type of Impact Device |
Distance of center of the two indentations |
Distance of center of the indentation to sample edge |
|
Not less than (mm) |
Not less than (mm) |
|
|
D |
3 |
5 |
|
DL |
3 |
5 |
|
C |
2 |
4 |
5 Read Measured Value
After each impact operation, the LCD will display the current measured value, impact times plus one, the buzzer would alert a long howl if the measured value is not within the valid range. When reaching the presetting impact times, the buzzer will alert a long howl. After 2 seconds, the buzzer will alert a short howl, and display the mean measured value.
After the impact device has been used for 1000 to 2000 times, please use the nylon brush provided to clean the guide tube and the impact body. Follow these steps when cleaning the guide tube,
1.unscrew the support ring
2.take out the impact body
3.spiral the nylon brush in counterclockwise direction into the bottom of guide tube and take it out for 5 times
4.install the impact body and support ring when complete.
Release the impact body after use.
Any lubricant is prohibited inside the impact device.
